design for events, print and web

email us on hello@curiousdesign.ie

curious logo

Author Archives: rachel

Design A to Z - Serif

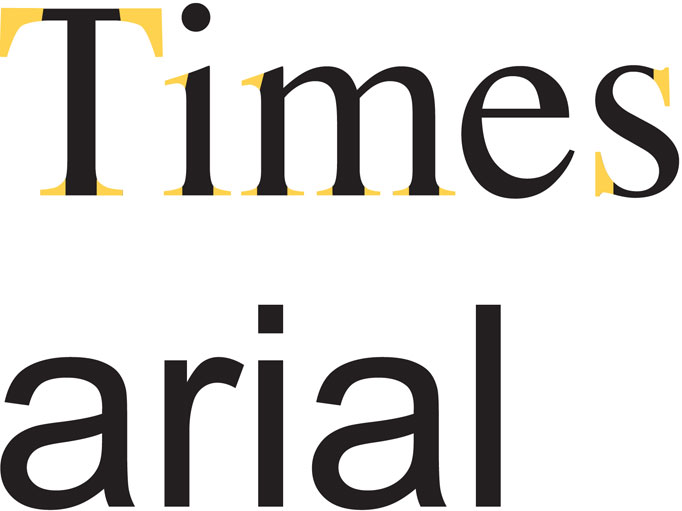
This week we are looking at the two main categories that type is broken into. Serifs and Sans Serifs. Whether these terms are familiar to you or not, I can assure you that you know at least two or three typefaces by name in both categories. If I were to say Times, and Arial to you, would either ring a bell? Can you think of any obvious differences between the two? Let me help you out…

In the example above, Times has serifs, these are highlighted in yellow. Arial on the other hand doesn’t have any serifs. A serif is a little detail or stroke at the end of a letterform or glyph. A Serif typeface has these little details and a Sans Serif typeface has no detail at the end of each letter. Sans meaning “without” in French.

Serif typefaces are traditionally used in large bodies of printed text such as in newspapers, books and magazines. This is because in general Serif typefaces are easier to read. However in an online environment it is widely believed that Sans Serifs are the best option as Serif’s can become distorted on screen.

There are countless typefaces available in each category, which are your favourites?

Design A to Z - Resolution

I know it’s only November so you are probably wondering why on earth I am bringing up the subject of resolutions before Christmas has even arrived. I’m not talking about the empty promises we make on New Year’s Day. Nope I’m talking image resolution.

In this instance, the word resolution describes the quality of an image. The higher the resolution, the better the quality of the image.

Digital images (photographs etc.) are made up of tiny coloured squares. These squares are called Pixels. Pixel is short for picture element. If you zoom right into any digital photo you will eventually see the individual square pixels that make up the photo. The more pixels there are in a photo, the better the quality and the higher the resolution.

This is a close up of a low resolution image of our logo. Notice the squares - these are pixels.

In order to describe the quality of an image, we use two abbreviations - PPI  (pixels per inch) and DPI (dots per inch). You have probably heard of DPI before, but perhaps not PPI. DPI is often used to describe PPI and vica versa. In printing, resolution is measured in DPI, this is because printers use dots of colour. For on-screen images, resolution is measured in PPI.

When an image has a high resolution, the pixels are small so more of them can be packed together creating more detail. Smaller pixels produce a smooth, high quality print. Because there are a high number of pixels the image file size is also large.

Low-resolution images have less pixels, these pixels are bigger and hold less detailed information. Low resolution images have a smaller file size.

Resolution becomes very important when dealing with print. In order to print clear and high quality images, they must be a minimum of 300 DPI. If your image resolution is less than this the quality will suffer and your image will look blurry or pixelated, like the image above.

If you need any help with sizing images for print or web, let us know!

Design A to Z - Opacity

This is not a term restricted to the ladies out there, opacity in this instance is not related to how see-through your tights are!

It refers instead to the density of a color. The opacity of an image or graphic element can range from totally transparent or see-through (0% opacity) to fully opaque or not see-through (100% opacity). Transparency is the measure of how see-through something is or how much light can pass through an object or image.

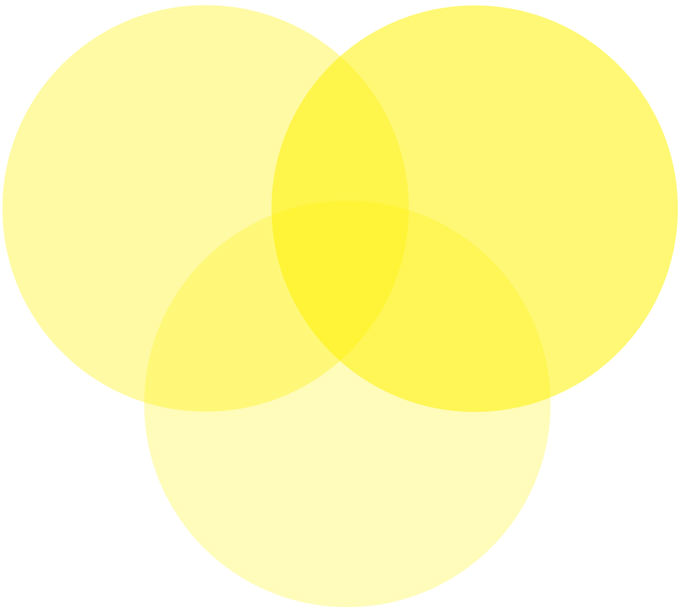
These overlapping circles are all yellow but have different levels of opacity applied to them, one is 30%, one is 40% and one is 60%. As they lose opacity they become transparent.

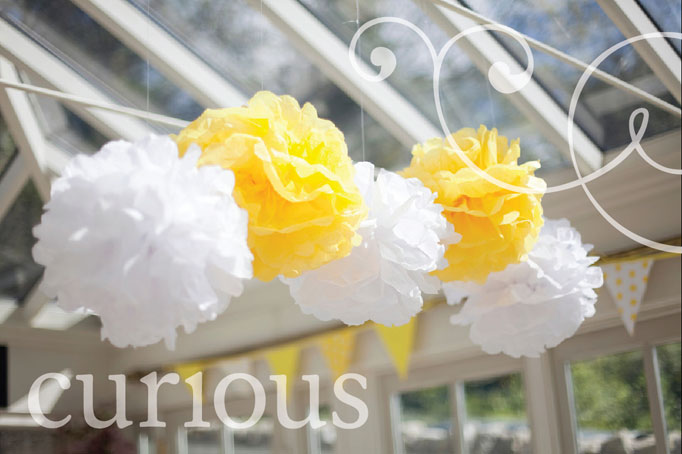
Opacity and transparency offer designers an excellent way of creating depth and texture in their design work. Designers utilise these tools in logo design, to create watermarks on stationery and many other ways, the possibilities are endless! Below is an example of a photograph with text and a graphic element placed on top of the photograph with 50% opacity applied.

Opacity was once limited to print design but recently it has moved into web design. Lots of exciting effects can be created using opacity and transparency in web design.

If you think that opacity would suit a print or web project you have in mind, let us know, we would love to explore the possibilities with you!

Design A to Z - Kerning

This week’s term is a typographic one.

Its roots stem from the days when type was manually hand set in wood and metal. Like many typography terms that we use today, the original name has stuck although the process has changed entirely.

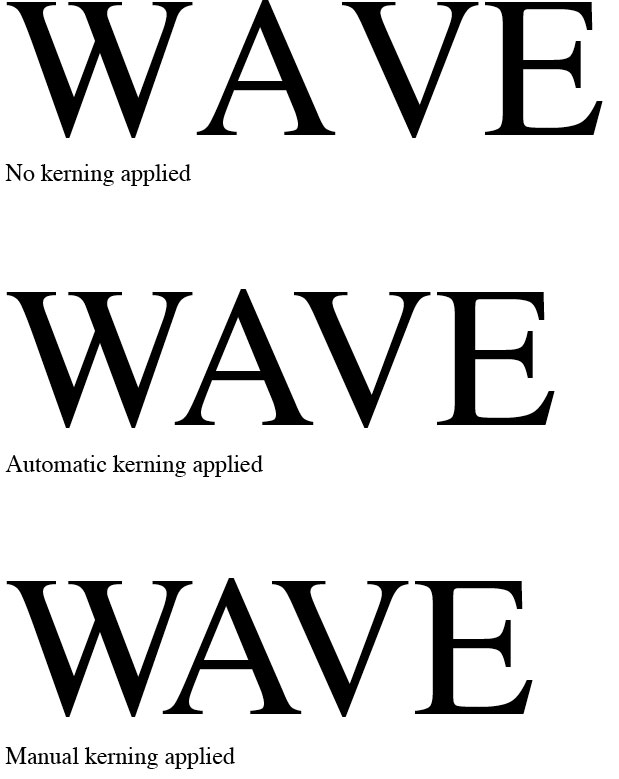
Kerning refers to the spacing between two letters or characters in a word. Designers use the method of kerning to adjust spacing between two particular characters to make the spacing even in relation to the rest of the word. Certain character combinations require kerning more often, the most common would be WA, Ya, LA, AT and the list goes on! As you can see type that is set in caps generally needs to have kerning applied to it more often.

In the examples above you can see the difference between the type before kerning is applied and afterwards – which do you prefer?

Design A to Z - Illustration

How to illustrate illustration? Well with pictures and examples I suppose!

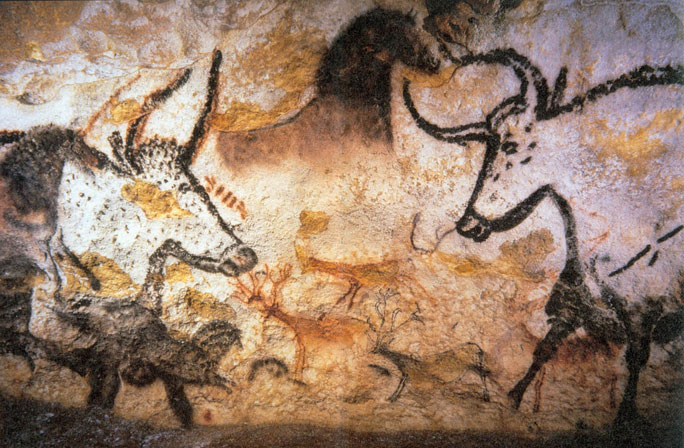
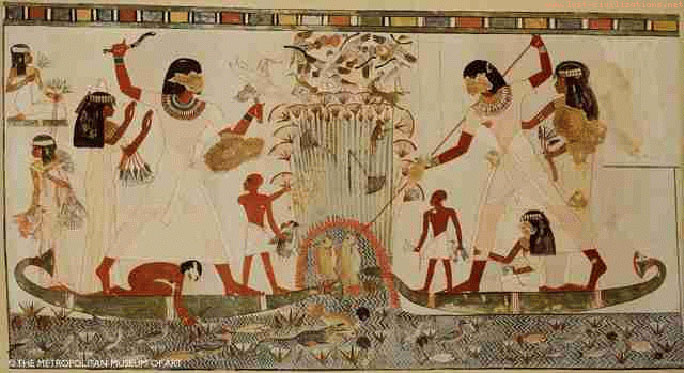
We all know the saying “A picture paints a thousand words” and it really is true. Illustration has been used for centuries as a tool for visually telling stories. As early as prehistoric cave painting and egyptian paintings, people have been using illustration as a means of depicting day to day life or special events.


Cave Paintings - http://www.donsmaps.com/cavepaintings.html


Egyptian paintings - http://www.lost-civilizations.net

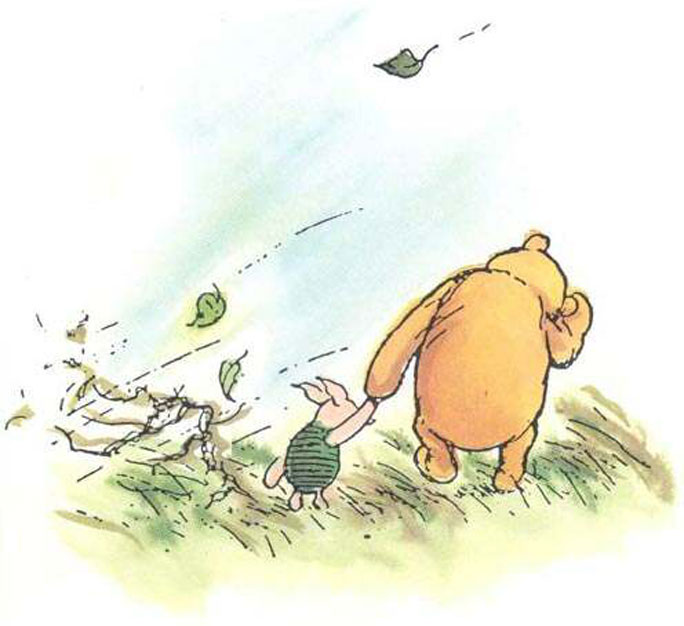
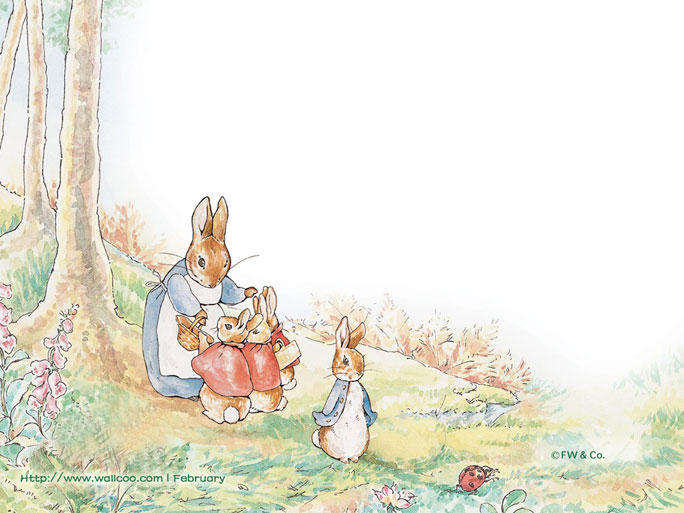
We are all introduced to illustration from a very early age, children’s books are one of the most familiar forms of illustration. If you think back to your childhood (if you can remember that far!) you will probably remember your favourites, mine were Winnie the Pooh, The Princess and the Pea and Peter Rabbit by Beatrix Potter.


Winnie the Pooh illustration - by E.H Shepard.


Illustration from Peter Rabbit - written and illustrated by Beatrix Potter

Can you remember your favourites?

Illustration is a very useful tool for graphic designers also. After all, it is our job to visually communicate.

There are so many different styles and methods for creating illustrations. Here at curious we can create custom illustrations as part of branding, for a website design or for a wedding invitation. If you would like to commission an illustration or discuss a particular style that you like for a project, give us a call!


Design A to Z – Grids

Organisation and structure, do these two words make you smile or cringe? Well like them or not, they are both very important in everyday life and also in the design world.

The best way to organise anything is to plan, and to visually map out the best way of tackling the task at hand. Whether that means structuring your working day into little segments or pockets of time, or drawing up the blueprints for a building. Most projects or tasks benefit from a little forward planning. If you fail to plan, you plan to fail*

A grid is a tool used by graphic designers to structure the information that they need to communicate. It is our job to take information (text and images) and translate it into an easy to understand yet visually interesting end product. The finished product might be a website, a book, a magazine, a poster…

Grids help us to decide where to place elements within our designs. Rather than randomly placing images or text on a page, we design a grid and use it to guide our design decisions. A grid acts like the foundations of a building and the building blocks are the information. Although we use grids to help us to decide where to position information, we are not strictly bound to the grid that we design. Grids are very flexible and provide endless layout possibilities!

To help understand how grids feature in everyday life, take a look at a newspaper. Most newspapers are designed using a strong vertical column grid. These grids consist of a margin and a number of columns with a small space between (this space is known as the gutter). This grid structure is so important to newspaper design that phrases such as “writing a column” have become everyday.
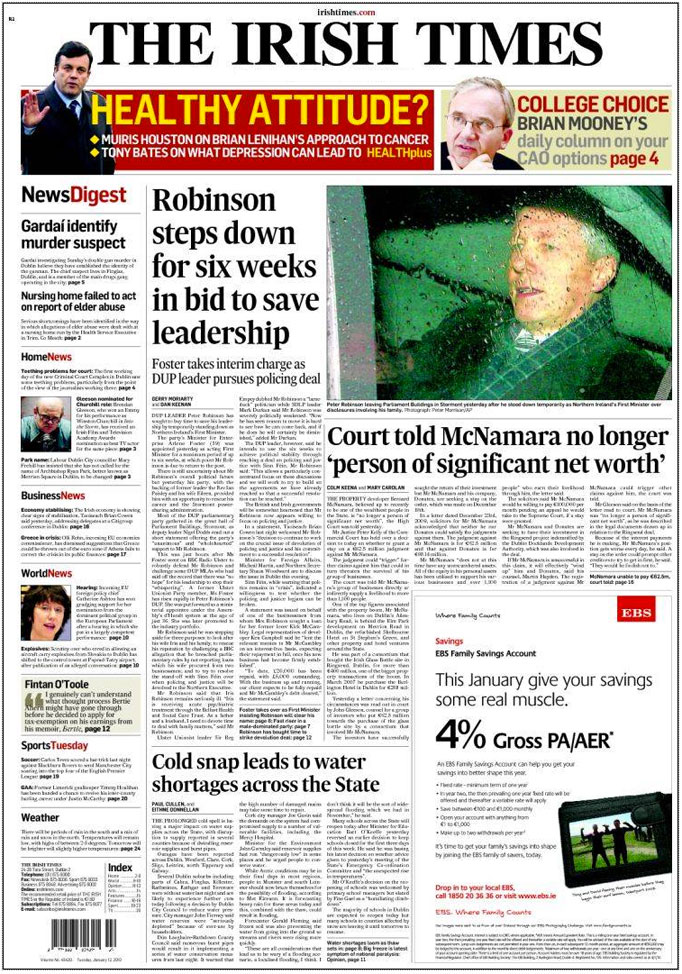

Front page from an edition of The Irish Times.

Grids not only help when we are designing for print, they are very important when creating designs for the web. The most important features of a good website are ease of navigation and clear layout. Both of these are greatly aided by the use of a well designed grid. Our very own website was designed using a grid, we design grids for all of our projects print and web alike.

Sometimes grids are very obvious, like in newspaper design and other times they are trickier to spot. Can you make out the grid that we used to design our website?

*Quote from unknown source, repeated to me by my husband :)

Design A to Z – Foiling

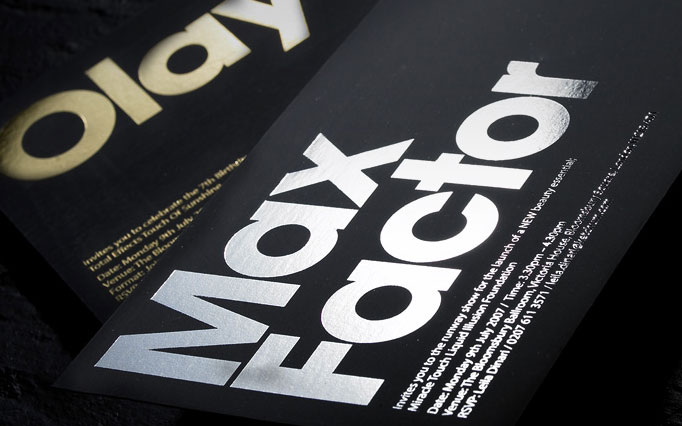
Today we are going to talk about foiling, often referred to as hot foiling. This is another print finishing technique that is used in many different ways by designers and printers.

The type of foil we are most familiar with in day to day life is good old kitchen tin foil which is not too dissimilar from the type that we are going look at, it is thin, shiny and comes on a roll!

To help understand what I am talking about, take out any bank note from your pocket or wallet (if you are lucky enough to have one!) and have a good look at the fancy shiny silver strip or shape on the right hand side of the front of the note. This is a type of foil that is applied to the note after it has been printed. In this instance it is used to verify that the note is genuine. This is a special type of holographic foil that is specifically designed for euro bank notes. It has textures and numbers designed into the foil to prevent counterfeiting. Concert tickets and some vouchers also use a very similar type of foil.

Foiling is also used on book covers, leather products, business stationery, packaging, greeting cards – the list is endless!


This image shows gold and silver foils on black card, image courtesy of design context

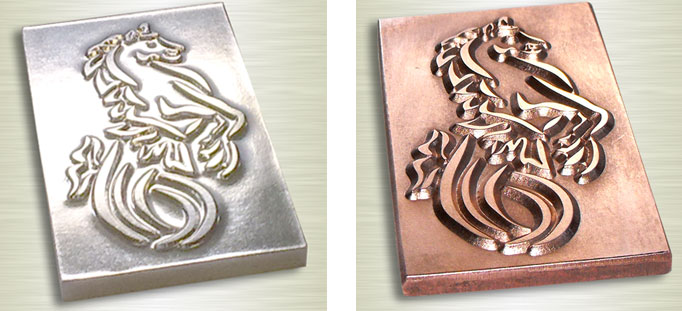
The process of hot foiling begins with the artwork that the designer intends to be foiled. This artwork is given to a die making company who etch or carve the negative of the design into a metal block or die. The dies are usually made of magnesium which is a cheap metal and can only last for a short period. Sometimes they are made of more expensive copper which lasts a lot longer and can be used again and again.


The first die shown is made of magnesium and the second is copper. Images courtesy of profoil.

The next step involves the die and the item to be foiled being positioned accurately onto a machine. Just like kitchen foil, the foil used comes on a large roll. The foil is sandwiched between the item and the die. When the heated die presses the foil against the item, it is forced onto the item and the design is created. The pressure used also leaves a slight indentation.

The range of foil colours and textures available are infinite and pantone colours can all be matched, the possibilities are endless!

If you would like to find out more about foiling or if you have a project in mind that you think would suit this technique, give us a call!

Design A to Z – Ellipsis…

The elusive ellipsis is a secretive little punctuation mark. It is used every day in newspapers, magazines, emails and even text messages, yet many of us don’t have any idea what one is and how it should be used correctly!

An ellipsis is a series of dots often referred to as dot, dot, dot. The name ellipsis is an ancient Greek term meaning an omission or falling short. It is an extremely useful little mark when used with restraint and within the correct context.

An ellipsis can be used to indicate an intentional omission of a word within a sentence, a pause in speech, an unfinished thought, or at the end of a sentence to show a trailing off into silence or thought.

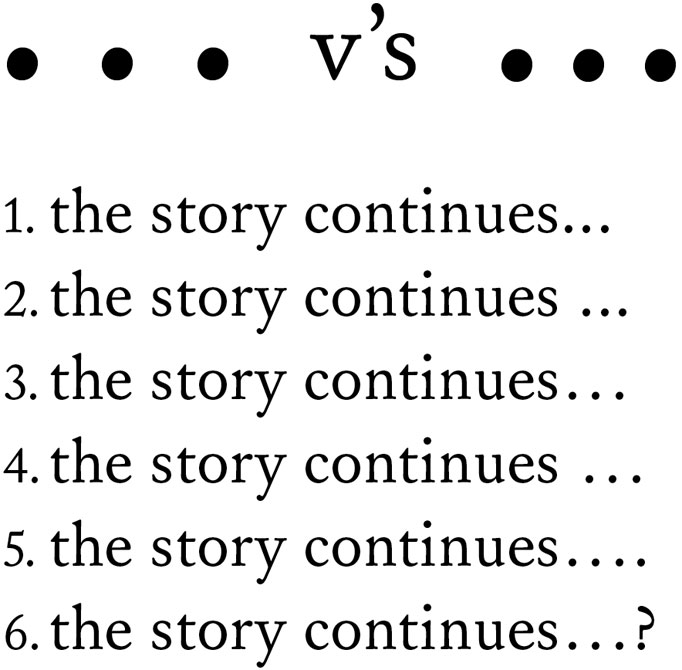
The most commonly used form of an ellipsis is a row of three dots ( … ). Although many fonts include an ellipsis character or glyph, some typographers and designers prefer to create their own. Some prefer three dots with no spaces in between, with a space before and after the ellipsis. Others prefer a small space between each of the dots.


1. An ellipsis creating using three dots with no space before or between the dots.
2. Here there is a space before the ellipsis but none between the dots.
3. This ellipsis is a character with set spacing, see below for how to create an ellipsis this way.
4. Again here there is a space before the ellipsis character.
5. In this example the ellipsis sits at the end of a sentence and therefore has a full stop at the end.
6. Similar to the example above, the ellipsis finishes the sentence and is accompanied by a question mark.

When an ellipsis sits at the end of a sentence, a full stop is added on as a fourth dot and the space in front of the ellipsis should be removed. The same applies if a sentence is finished with an ellipsis and a question mark or exclamation mark. Although many people use more than three dots to indicate a pause, this is incorrect. An ellipsis should only ever consist of three marks, unless the ellipsis is at the end of a sentence.

To create an ellipsis character or glyph, hold the alt key and a semicolon on a Mac or alt 0133 on a PC. Why not try the different methods for creating an ellipsis and see which you prefer?

Design A to Z – Die cut

This is the second post in our series that sounds far more gruesome than it is! Die cutting may sound like a cruel form of torture, but it is in fact a print finishing technique.

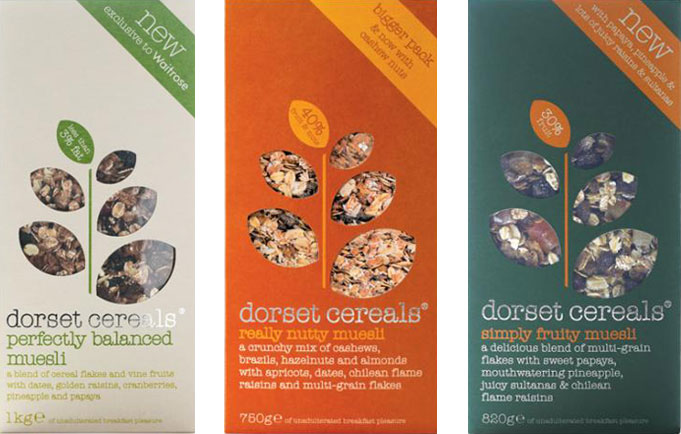
Die cutting is a process used to cut shapes from paper, cardboard, plastic and many other materials. From business cards to food packaging and labels, most printed items that we come in contact with every day have some form of die cutting. The next time you are running around the supermarket have a look at all the different shapes that can be created by die cutting.


Die cutting used very effectively on Dorset Cereals packaging.

To create a die cut, a cutting forme has to be made first. These formes are made from sharp metal blades which are bent into the required shape and mounted to a strong backing, which is usually wood. The material being cut is placed on a flat surface, and the die cutting forme is pressed onto the material to cut it.


The first image shows a die cutting forme for a box, the second shows the shape created by a die cutting forme.

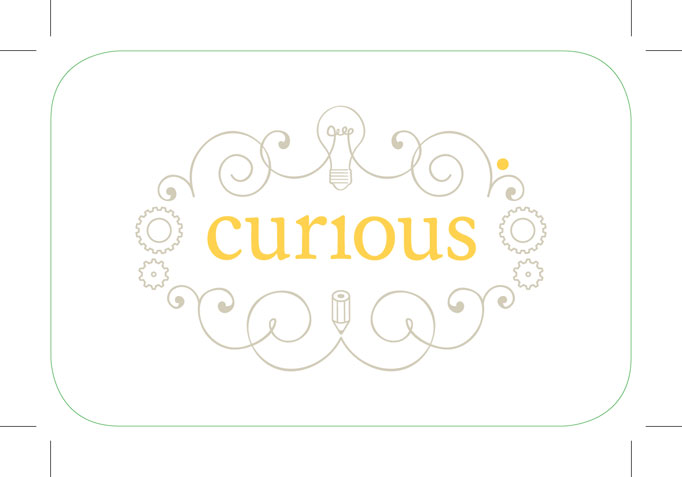
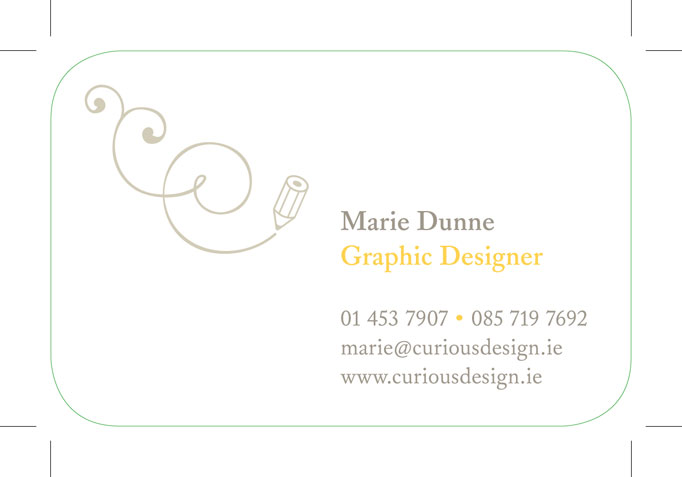
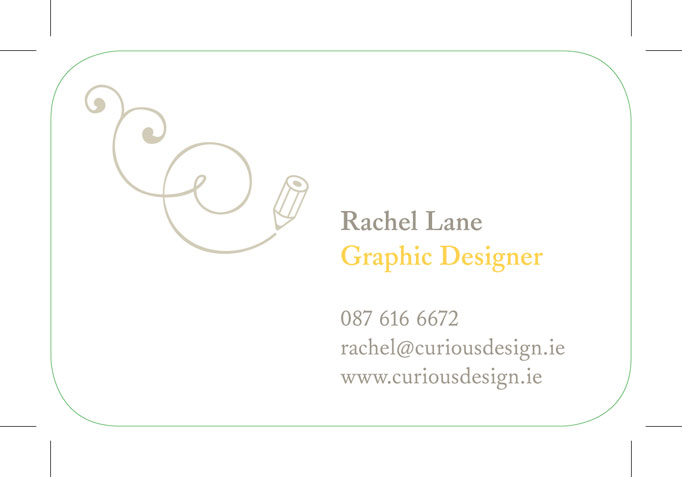
To show where a design needs to be die cut, designers use specific colours on their files to show exactly where to cut. These coloured outlines are called keylines or die lines. We used die cutting for our curious business cards to create smooth rounded corners. The images below show the keylines for our business cards. We colour our keylines green.


If you would like more information on die cutting or other print finishing processes get in touch - we’d be happy to advise you!

Page 2 of 3123